


Document Actions
gvSIG-Desktop 1.10. User Manual
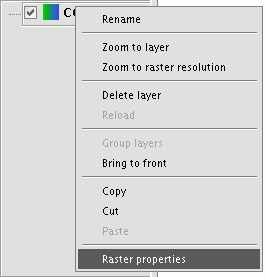
Right click on a raster layer and select the "Raster properties" option. This opens a menu in which we can carry out various operations on the raster layer.
This menu is divided into five tabs:
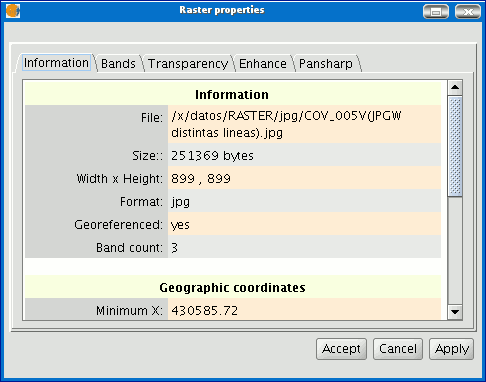
Information: Provides general information about the raster layer, the file path, the number of bands, the pixel dimensions, the file format, the data type and the geographic coordinates of the corners.
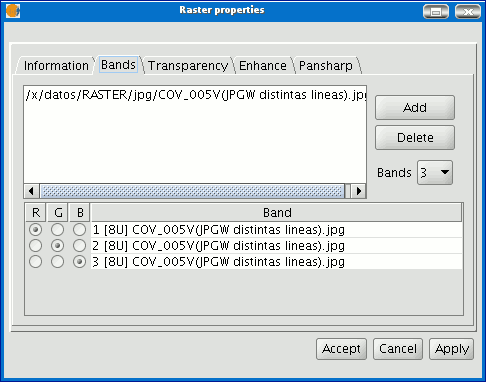
Bands: Provides tools to change the mode in which each image band is viewed. Transparency: Provides tools to change the transparency levels that can be applied to a raster layer.
Enhance: Provides a tool to enhance the raster layer. Pansharpening: Provides a tool to increase the satellite image resolution if the panchromatic band for these images is available.
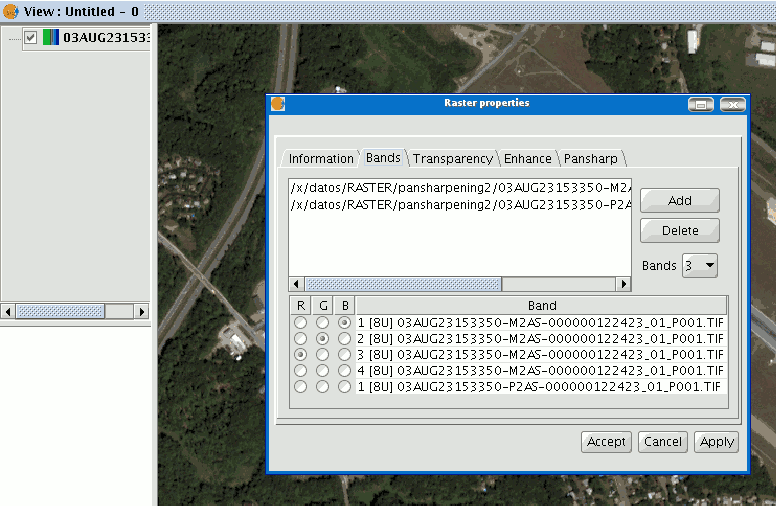
In the “Bands” tab you can make compositions using the different bands in a raster image. You can also add more bands from other files. This is useful when working with Landsat-type images, in which each band is delivered in a different file.
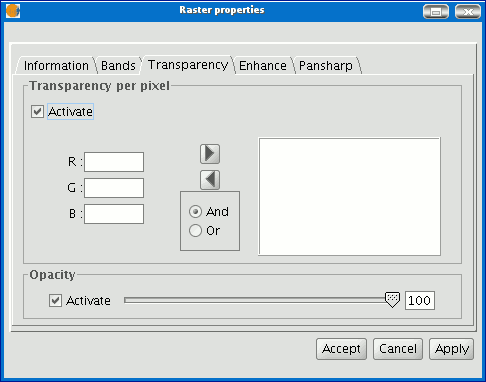
In addition to the “Transparency” option in gvSIg version 0.3, which is now called “opacity”, and which indicates the "occlusion” percentage of this layer over the previous ones, there is now a transparency option which allows the indicated colour groups (RGB) to be completely transparent. This is very useful to eliminate visual artefacts as a result of missing data in orthophotos or satellite images and to remove borders in an image mosaic.
To access the options, click on the corresponding “Activate” check boxes.
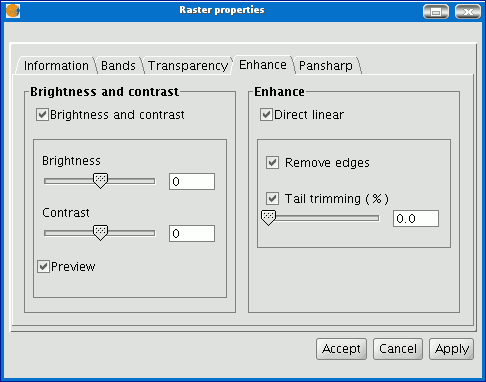
The “Enhance” tab can be used to modify the image brightness, contrast and enhancement. This last option is essential to be able to view 16-bits per band images correctly.
The “Pansharpening” tab can be used to increase the resolution of satellite images if the panchromatic band for these images is available. N.B.: If the image bands are in different files, they must be added to the layer using the “Bands” tab.
Use the “Bands” tab to find the best band combination for the view. In this section, you can load the image which corresponds to the panchromatic band but you must not select it to be visualised.
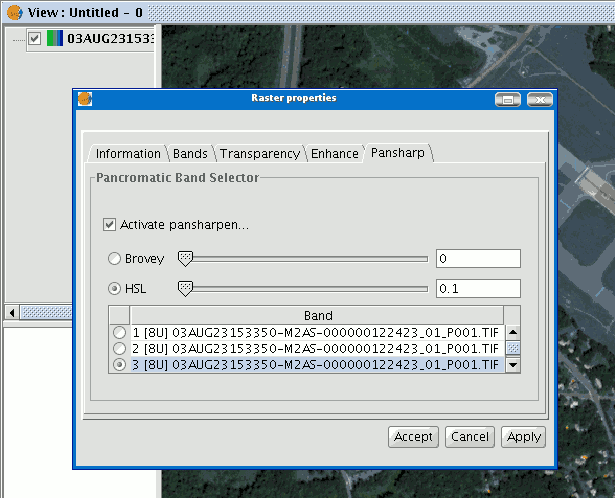
When the bands have been loaded, you can carry out the pansharpening. Go to the “Pansharpening” tab and activate it by clicking on the “Activate Pansharpening” check box. Select the panchromatic band with which the pansharpening is to be carried out from the band list. Finally, select an algorithm to be applied. There are two methods available, “Brovey” and “HSL”. Both of them have a slide bar control to carry out adjustments.
In “Brovey” the general brightness of the resulting image is increased or decreased.
In “HSL” the coefficient which is added to the brightness taken from the pansharpening band varies before it is replaced in the output image. This coefficient can vary between 0.15 and 0.5. When modified, the obtained result also influences the output image’s general brightness. If you click on the "Apply" or “Ok" buttons, the pansharpening will be applied on the image in the view, thus increasing the image resolution.
Cached time 11/21/13 07:04:04 


